Roll over to enlarge
Click to view large Image
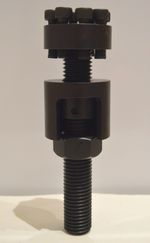
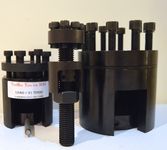
Mech-Ten Mechanical Bolt Tensioning
New Product
The Clarkwood Engineering Mech-Ten Mechanical Bolt Tensioning tool has been developed to provide a method of correctly tensioning studs to give reliable trouble free bolted joints.The Mech-Ten is easy to use, flexible and provides an effective method of tensioning studs wherever it is needed and in virtually any environment.
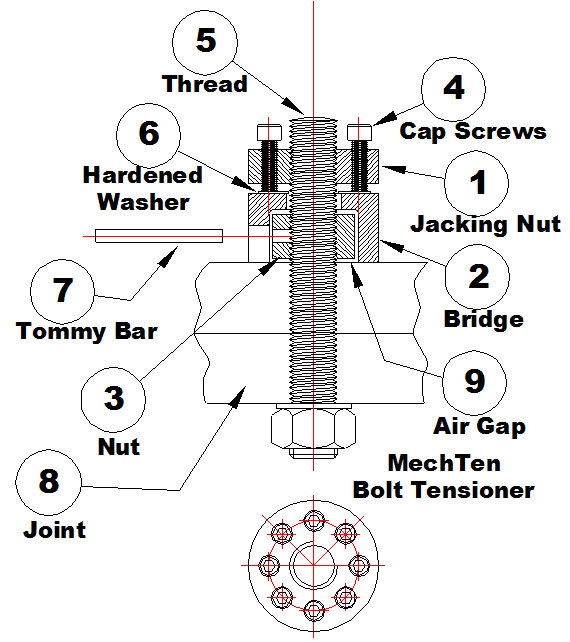
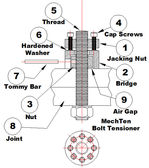
Key to Diagram
- Jacking nut used to stretch and tension stud (5)
- Bridge
- Nut
- Row of cap screws that generate load in stud (5)
- The stud being tensioned
- Hardened washer
- Tommy bar Joint
- Gap created by stretching (tensioning) stud (5)
Features & Benefits
- This method of mechanical bolt tensioning is safe and reliable
- No hydraulics – cost effective on initial outlay
- High quality standard, manufactured from high strength steel for long life and safety
- Protective coated for corrosive resistant
- Can be used by semi-skilled labour – (easy to use)
- Powerful bolted joint with high clamping force
- Low torque requirements - multiple summation of tension from a pitch circle of small sized capscrews (well Proven Method)
- Safe method of assembly (no high pressure hydraulics)
- Tightens stud in pure tension (no torsional strain)
- No thread gallingCompact design
- Protects the environment (no electric power required)
- Quality controlled to ISO 9001: 2008 / ISO 14001:2004
After tensioning the Mechanical Bolt Tensioner (Mech-Ten) can be removed leaving only the Nut Item (3) and Stud Item (5) so the Mech-Ten can be used to tension other studs.
Simple to Use
- Screw Stud (5) into Joint
- Screw Nut (3) onto Stud (5)Fit Bridge (2)
- Fit Hardened Washer (6)
- Screw Jacking Nut onto the Stud (5)
- Select Hand Operated Torque Wrench and set to half the final torque setting
- Sequence Star method of tightening capscrews to uniform bolted joint tightening.
- Tommy Bar (7), Nut (3) to Take up gap
- Set final torque setting and follow the same sequence to apply the tensile tension into Stud (5)
- Tommy Bar (7), Nut (3) to Take up gap
- Reverse sequence of untightening capscrews to remove load
- Remove Jacking Nut (1)
- Remove Bridge (2)